Short answer: Install ScrumNav from Atlassian Marketplace on your Jira Cloud site, open the app, walk through the board setup wizard (board → story point field → team → completion model), then start sprint planning.
Before you begin
- Jira Software Cloud with Scrum or Kanban boards and sprints
- Permission to install apps from Atlassian Marketplace on the site (admin) and to view/edit issues on the board
- A numeric story point field in Jira (standard or custom field)
ScrumNav runs inside Jira under each signed-in user’s permissions. It does not bypass Jira access control.
Install ScrumNav from Atlassian Marketplace
ScrumNav is distributed on the Atlassian Marketplace. Your Jira admin installs it on your Jira Software Cloud site and approves the requested permissions. If you need help, contact support.
- Find ScrumNav on Atlassian Marketplace (search for ScrumNav).
- Install the app on your Jira site and approve the requested scopes.
- In Jira, open Apps and launch ScrumNav (global page).
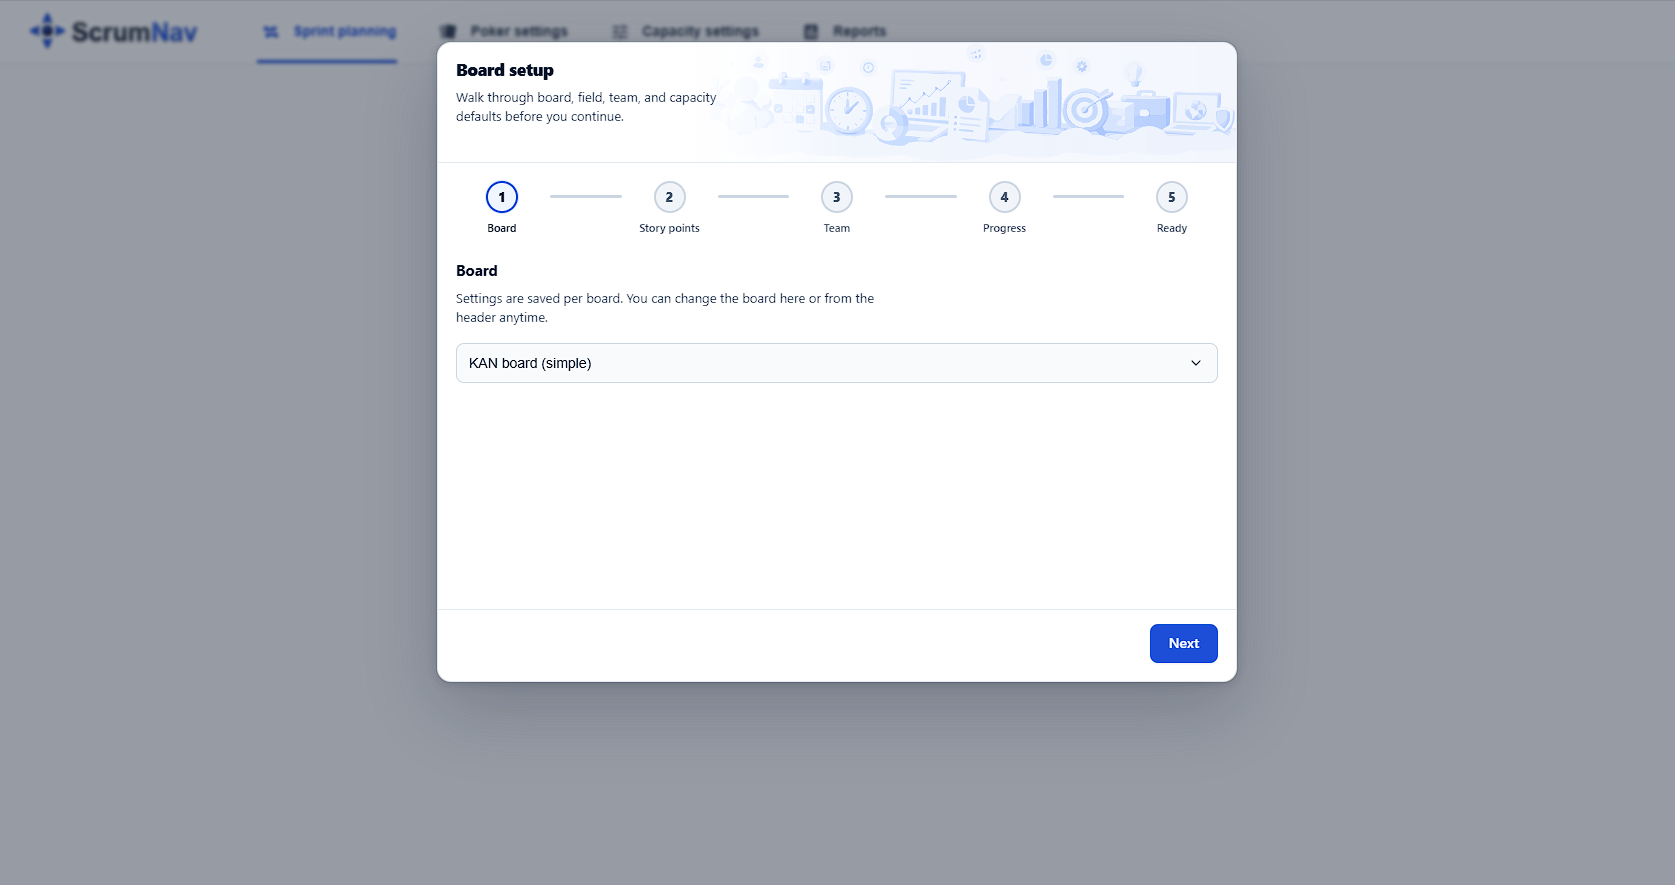
Board setup wizard
On first use — or when board settings are incomplete — ScrumNav guides you through setup:
- Board — choose the Jira Software board to configure. Settings are board-scoped.
- Story point field — select the numeric Jira field for estimates. This is required so ScrumNav reads and writes the correct values.
- Team — add members with default working days per sprint and efficiency %.
- Completion model — choose status-based or time-based completion, and set how many previous closed sprints (0–12) ScrumNav uses for velocity and time-based estimates. You can change this later in capacity settings; it applies across planning, capacity, and reports for the board.
Your first planning session
- Open sprint planning and confirm the correct board is selected.
- Pick the sprint you are planning (active, future, or automatic).
- Review capacity — adjust sprint-specific days or shared holidays if needed.
- Drag issues from the backlog into the sprint and set or refine story points.
- Use Scrum Poker for issues that need a team estimate.
- Stop when capacity shows OK or when the team agrees on intentional over-commitment.
Detailed guides:
Optional next steps
- Customize your poker deck with card captions per board
- Fine-tune the status → completion % map in capacity settings
- Adjust previous sprints (count) if you want velocity and reports based on more or fewer closed sprints
- Review sprint reports after a sprint closes — see the reports guide
Frequently asked questions
- What do I need before installing ScrumNav?
- You need Jira Software Cloud with boards and sprints. Your Jira admin must be able to install apps from Atlassian Marketplace on the site. Team members need Jira permissions to view and edit the issues they plan with.
- Why must I pick a story point field during setup?
- Jira sites can have multiple numeric custom fields. ScrumNav requires an explicit field choice so estimates, capacity, and reports always use the same story point field for the board.
- Are settings shared across all boards?
- No. Team, capacity, poker deck, and related settings are board-scoped. Each board you use with ScrumNav can have its own configuration.
- Can I change settings after the wizard?
- Yes. Capacity settings, poker deck, and report preferences can be updated anytime from ScrumNav settings for the selected board.
Wizard done? Start your first sprint planning session.